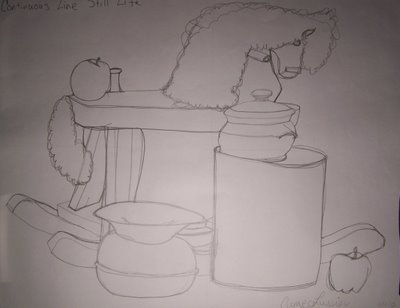
First is a continuous line drawing. This is when the pencil never leaves the paper. That means that there is no erasing and lines are gone over multiple times. Doing a continuous line drawing teaches the drawer how to see relationships between the different contour lines. Mine looks odd, mainly because I was new and didn't know what I was doing. But it also looks odd because that is the nature of continuous line drawings-they are not meant to be pretty but to teach.

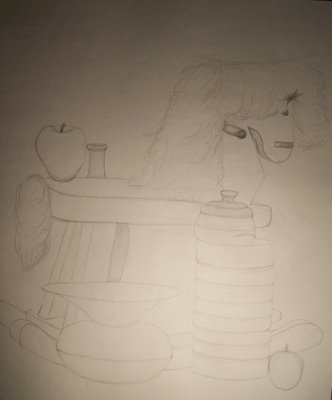
Then we learned how to sight and use a sighting stick. We used the same still life as the first because we were already familiar with it. This one looks more realistic because the portions are correct. I added some shading, but I wasn't supposed to because this was meant to be a simple contour line drawing, but I finished early and was bored.

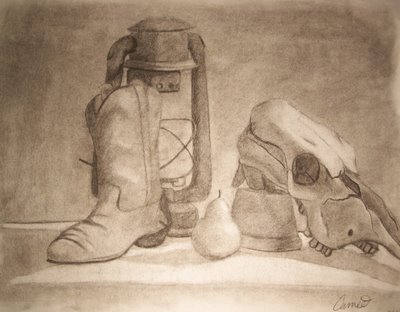
Next, we learned how to model: it takes at least three values to turn a form. For this we used how to use the different types of charcoal. For this picture I used vine and charcoal pencils. I started on the left side and gave too much space on the left side of the boot and that is why I ran out of room and had to cut the skull off.

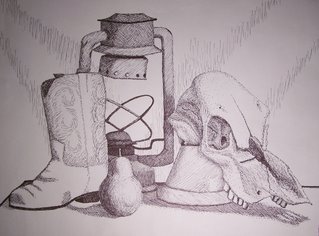
Finally, we learned how to use hatching and stippling in ink. I used a fine point sharpie for this. As you can tell, I used the same still life as before, but this time I managed to fit the whole composition.

No comments:
Post a Comment